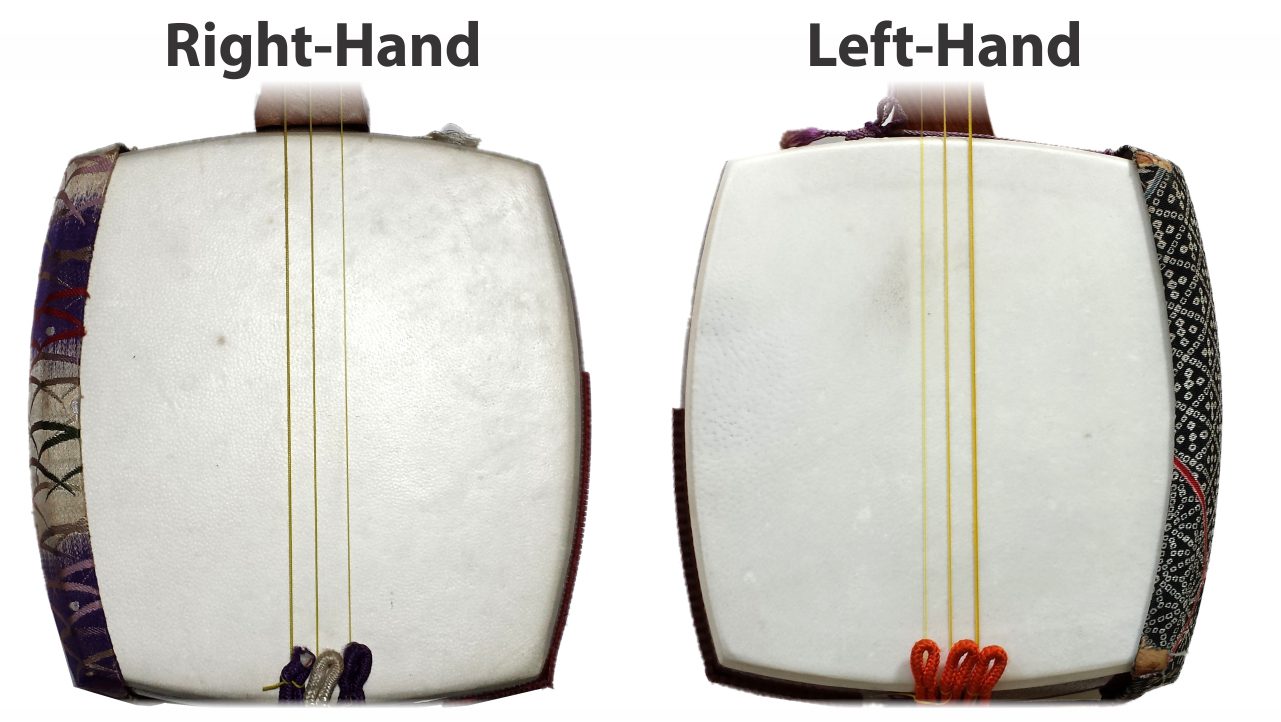
It’s incredibly easy to convert a right-handed shamisen to left-hand.
Let’s learn how by converting a Beginner’s Shamisen with the following steps!
1) Doukake
The doukake is the decorative cover attached to the side of the dou (body) where the arm rests.
Because we’ll be holding our shamisen in the opposite direction, we’ll need to put the doukake on the other side of the dou.
Simply untie the cords, put the doukake on the other side, and retie the cords!

If playing left-handed, place the doukake on the right side of the dou, as shown in the picture.
2) Strings

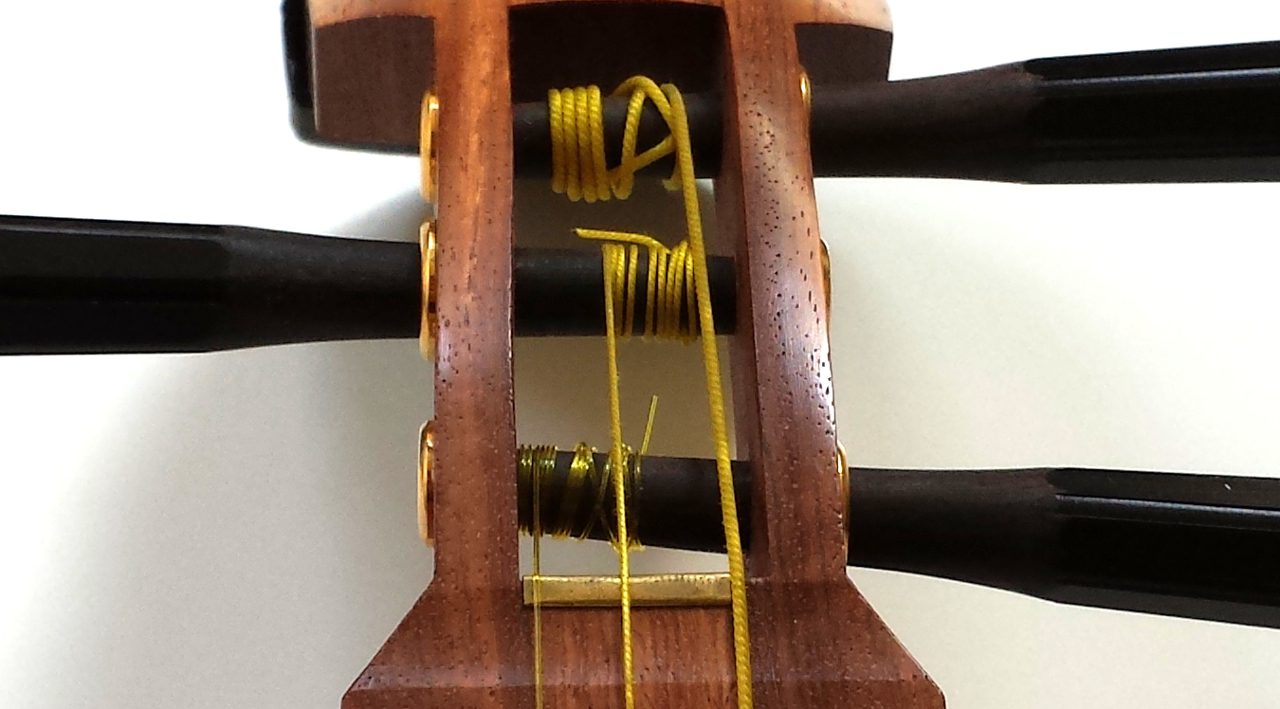
Because we will be holding the shamisen in the opposite direction, we must reverse the string order. This is as easy as attaching strings for right-hand shamisen!
Simply wrap the strings so they are positioned as shown in the picture below.

3) Kamigoma

The standard kamigoma (metal nut) is a thin piece of brass (or such material) set under the two thinner strings to make them resonate clearly.
The ichi no ito (thickest string) rests on the bare wood in order to vibrate against the sawari ridge.
Learn more about the sawari effect!
The back plate of the standard kamigoma protrudes in such a way that it can only be affixed to a right-hand position.
Well, we need the kamigoma positioned oppositely so the ichi no ito can still rest on the bare wood. What should we do?
