About Shamisen DIY Kits
To put it briefly, I was diagnosed with cancer in in the Spring of 2020 (fortunately very treatable and caught early), and during that emotionally traumatic time, I found that working on my current shamisen build was very soothing. In that moment, I decided to shift from playing and teaching shamisen towards solely building the instruments, and invested in a large amount of highly figured woods to create my own line of shamisen.
However, life started to regain balance after making a full recovery, and as the joy of playing and teaching recovered, the available time for building shrank. Well, rather than hoard this quality wood for my own personal stash, I finally realized that this wood would have far more benefit to aspiring shamisen makers. And so I cut all of the bulk hardwood lumber into individual shamisen kits. Ready for you to secure to your bench and start carving!
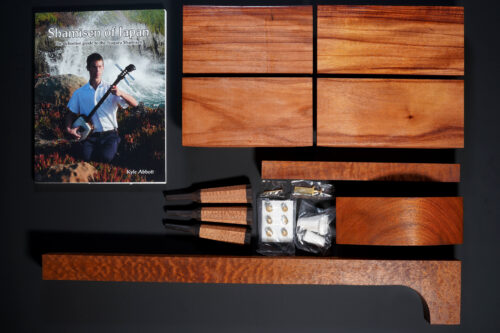
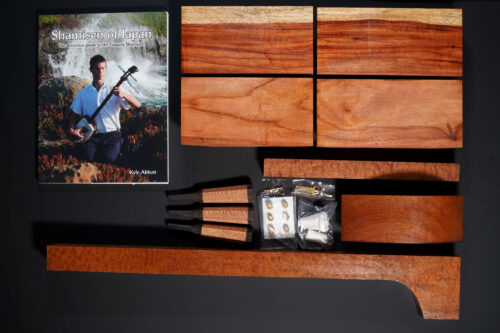
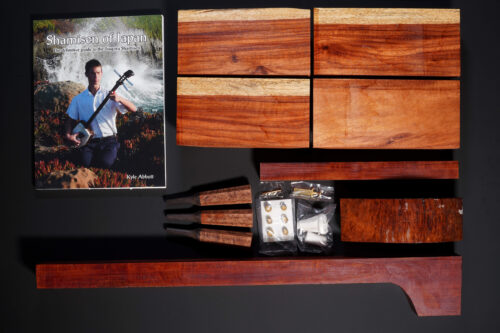
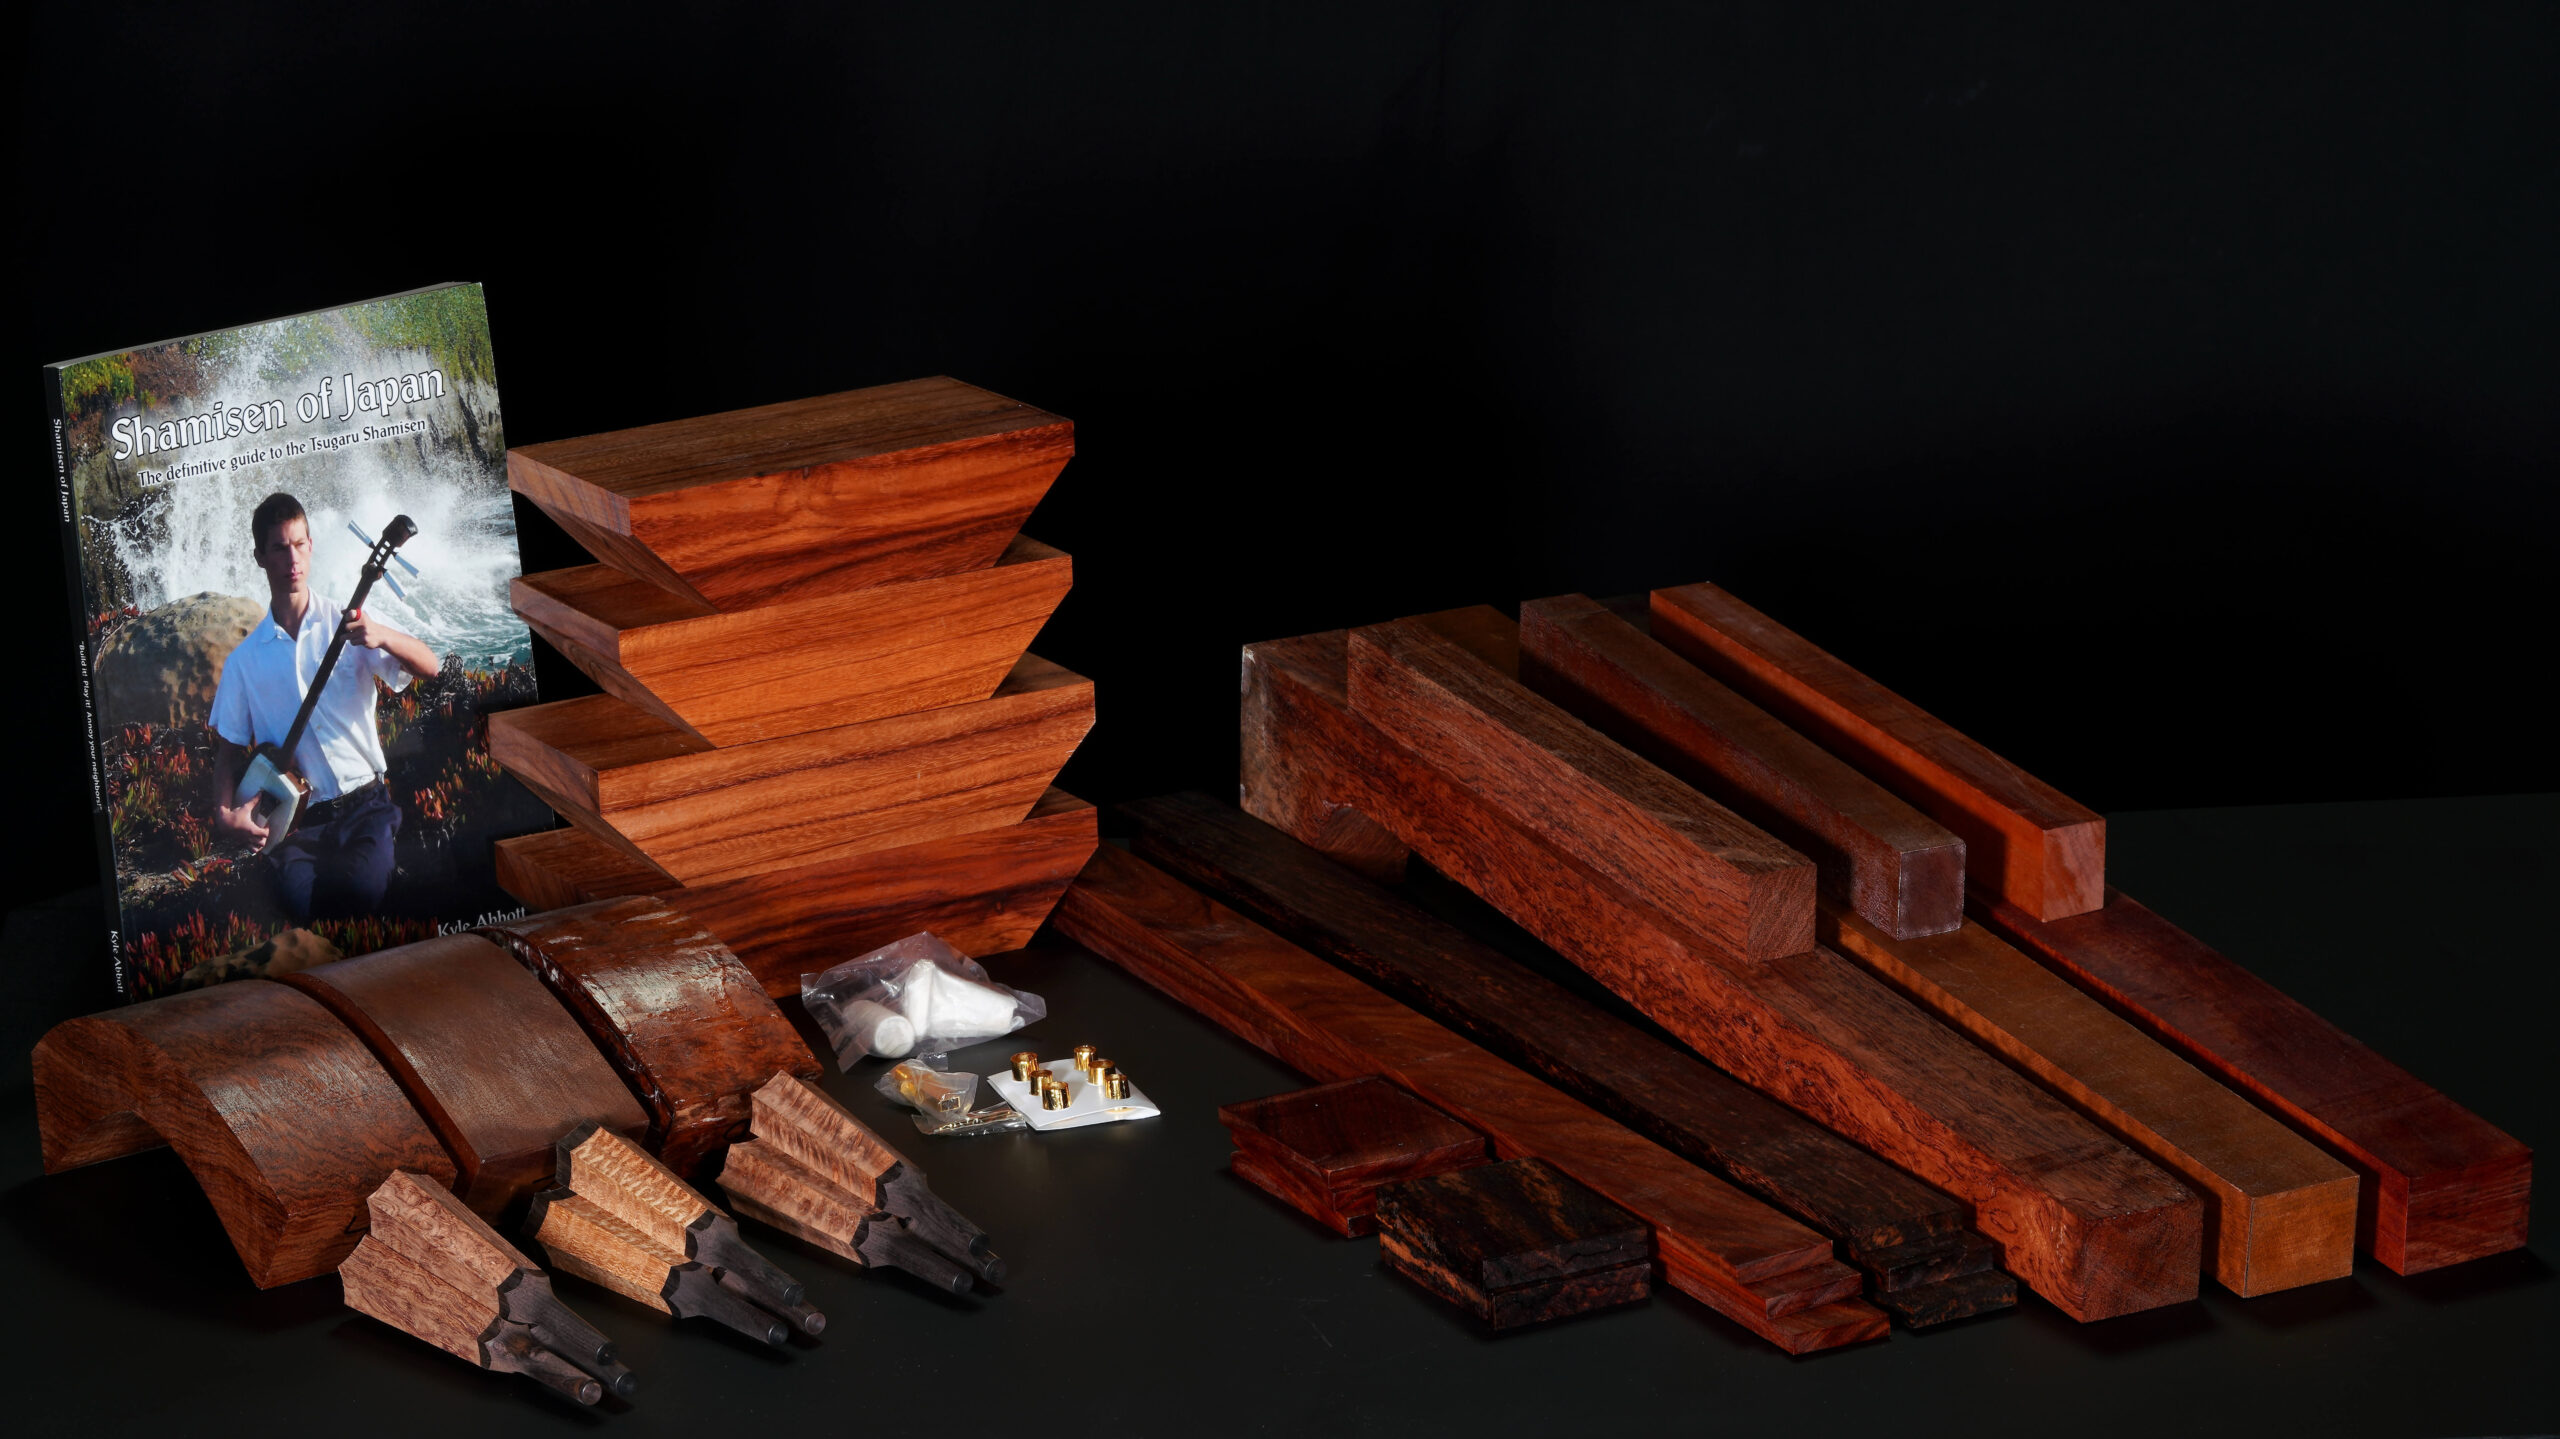
Kit Contents

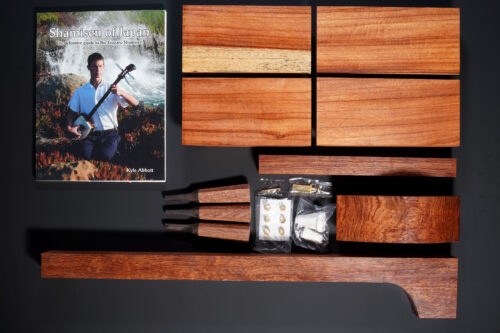
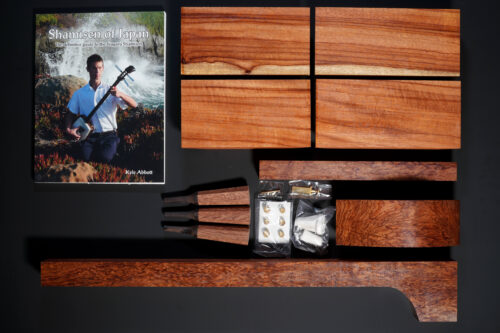
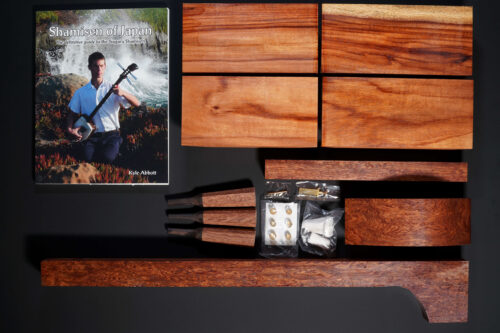
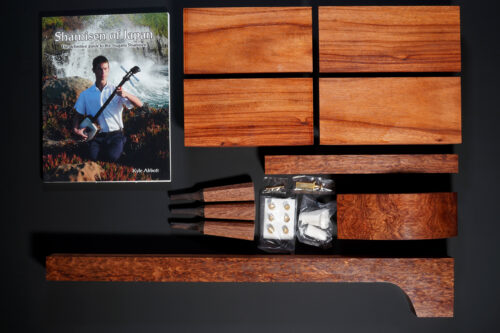
Each kit includes material for one Tsugaru Shamisen (although other styles can technically be made from the same kit, as they are smaller than the Tsugaru Shamisen size):
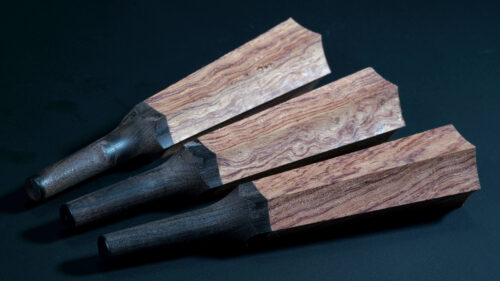
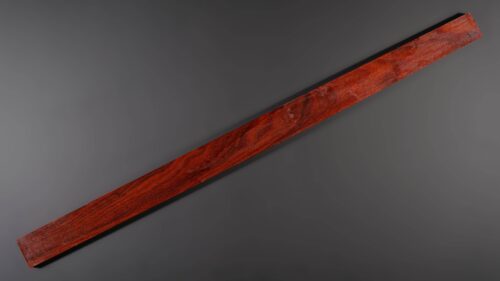
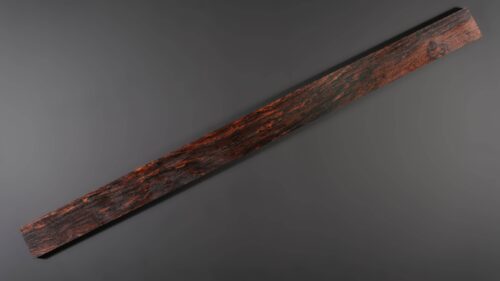
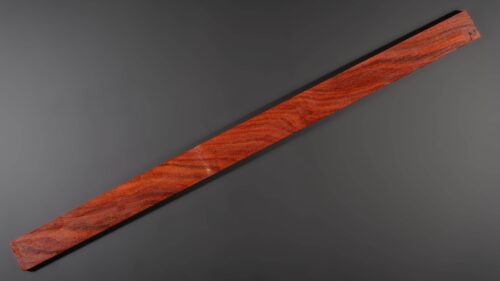
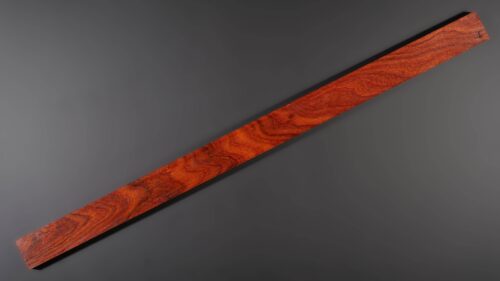
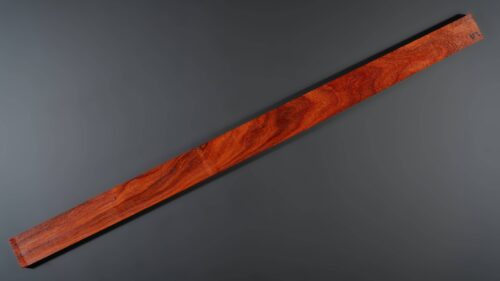
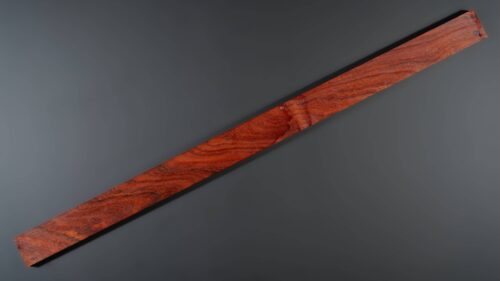
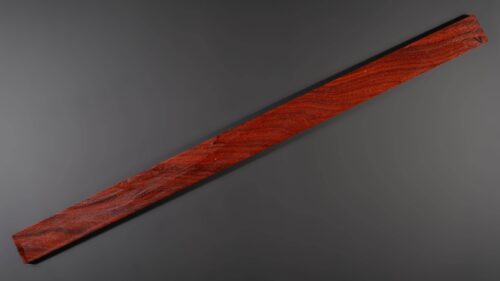
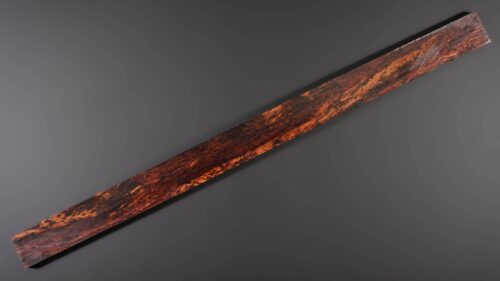
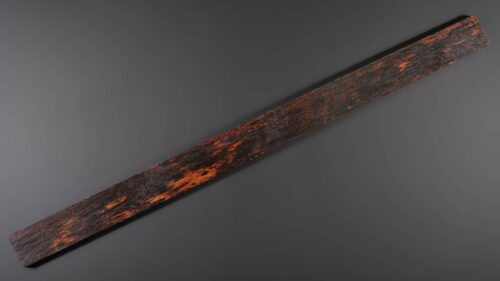
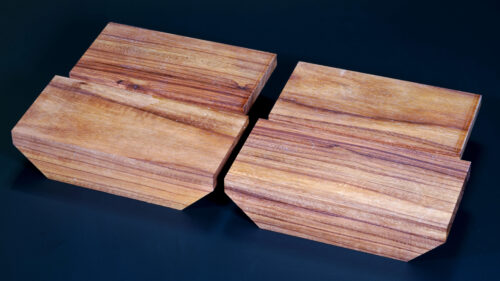
- Wood (rough shaped) for Dou, Single-piece Sao, Tenjin, Nakago (Your Choice of Figured Bubinga, Pomelle Sapele, or Figured Red Gum)
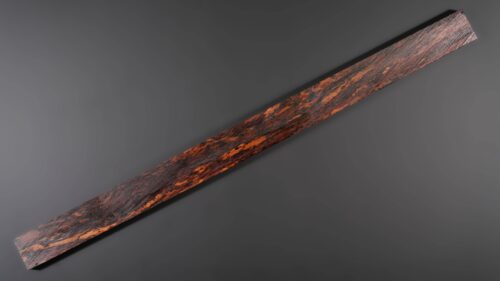
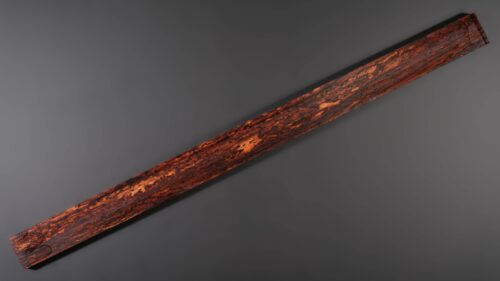
- Hardwood Fingerboard (Your choice of Pua Rosa or Laotian Birdseye Rosewood)
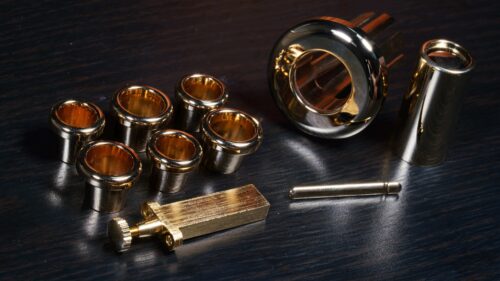
- Gold Fittings (Rindo, Azuma Sawari, Kamigoma, and Zagane)
- Elite Itomaki (sanding and polishing required)
- Shamisen of Japan (book)
- Hibiki Skinning Service (Free after completion!)
Add-On: Video Chats with Kyle (30 minute max). Having trouble with your build? Bring Kyle into your workshop and get some advice!
Add-On: Shamisen Building Templates. Made from high quality acrylic!
Who’s This Kit For?
When most people think of DIY kits, they imagine a “some assembly required” set that saves money over a finished retailer product. However, our Shamisen DIY Kit is not that type of kit. Only the initial rough shaping is pre-done; the remaining 90% is left for you to craft. So why spend as much as a used kouki tsugaru shamisen on building materials that are merely rough shaped?
This kit is designed for enthusiasts who want to deepen their shamisen journey by building a high-end instrument themselves. A minimal amount of shaping is intentionally done because shaping the wood is the most enjoyable part for makers like myself.
Note: This kit is ideal for those who already own a shamisen and wish to explore building one with high quality materials. If you’re new to the shamisen, please consider purchasing a used or new shamisen set (preferably at Bachido) so you can immediately enjoy the full experience.
Value for Makers
No question—$1500 is a significant price tag for building materials. While one could save money using simpler woods from a local hardware store, this kit offers exceptional value for those seeking a high-end project.
The cost of highly figured wood is high; for instance, a highly figured sao for a top-level shamisen in Japan costs around $1000 on average (not including dou wood, itomaki, nor the rising cost of gold fittings). In essence, much of the kit’s price reflects the acquisition cost of these materials.
Great figure doesn’t come in single-serving. Although highly figured small blocks can be found on sites likes Etsy, sourcing pieces large enough for a shamisen is nearly impossible. In order to obtain figured wood at the required thickness for a tsugaru shamisen, one must purchase in large quantities. This kit is the most economical way for an enthusiast to build their own highly figured shamisen.
Specific Notes
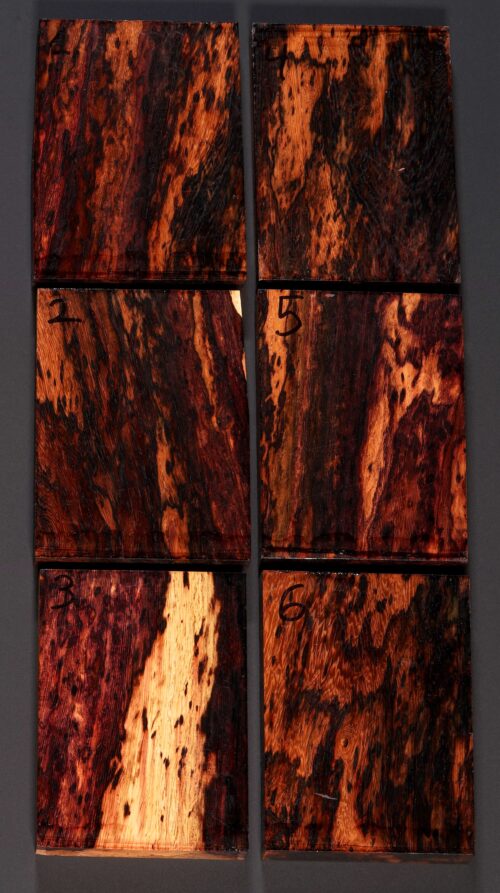
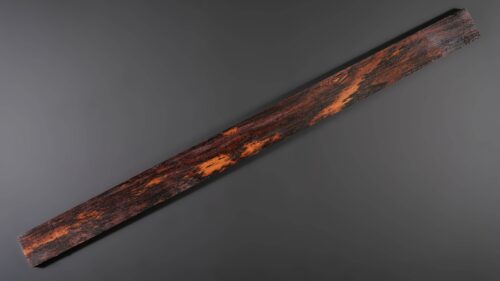
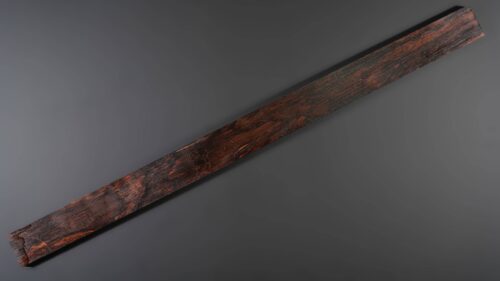
- Granadillo Dou Boards: You might notice some white patches on the sides of certain Granadillo dou boards. These patches, known as “sapwood”, are slightly softer than the darker heartwood. Most of the sapwood is removed during the curving process, and any remaining will be minimal without affecting durability or tone.
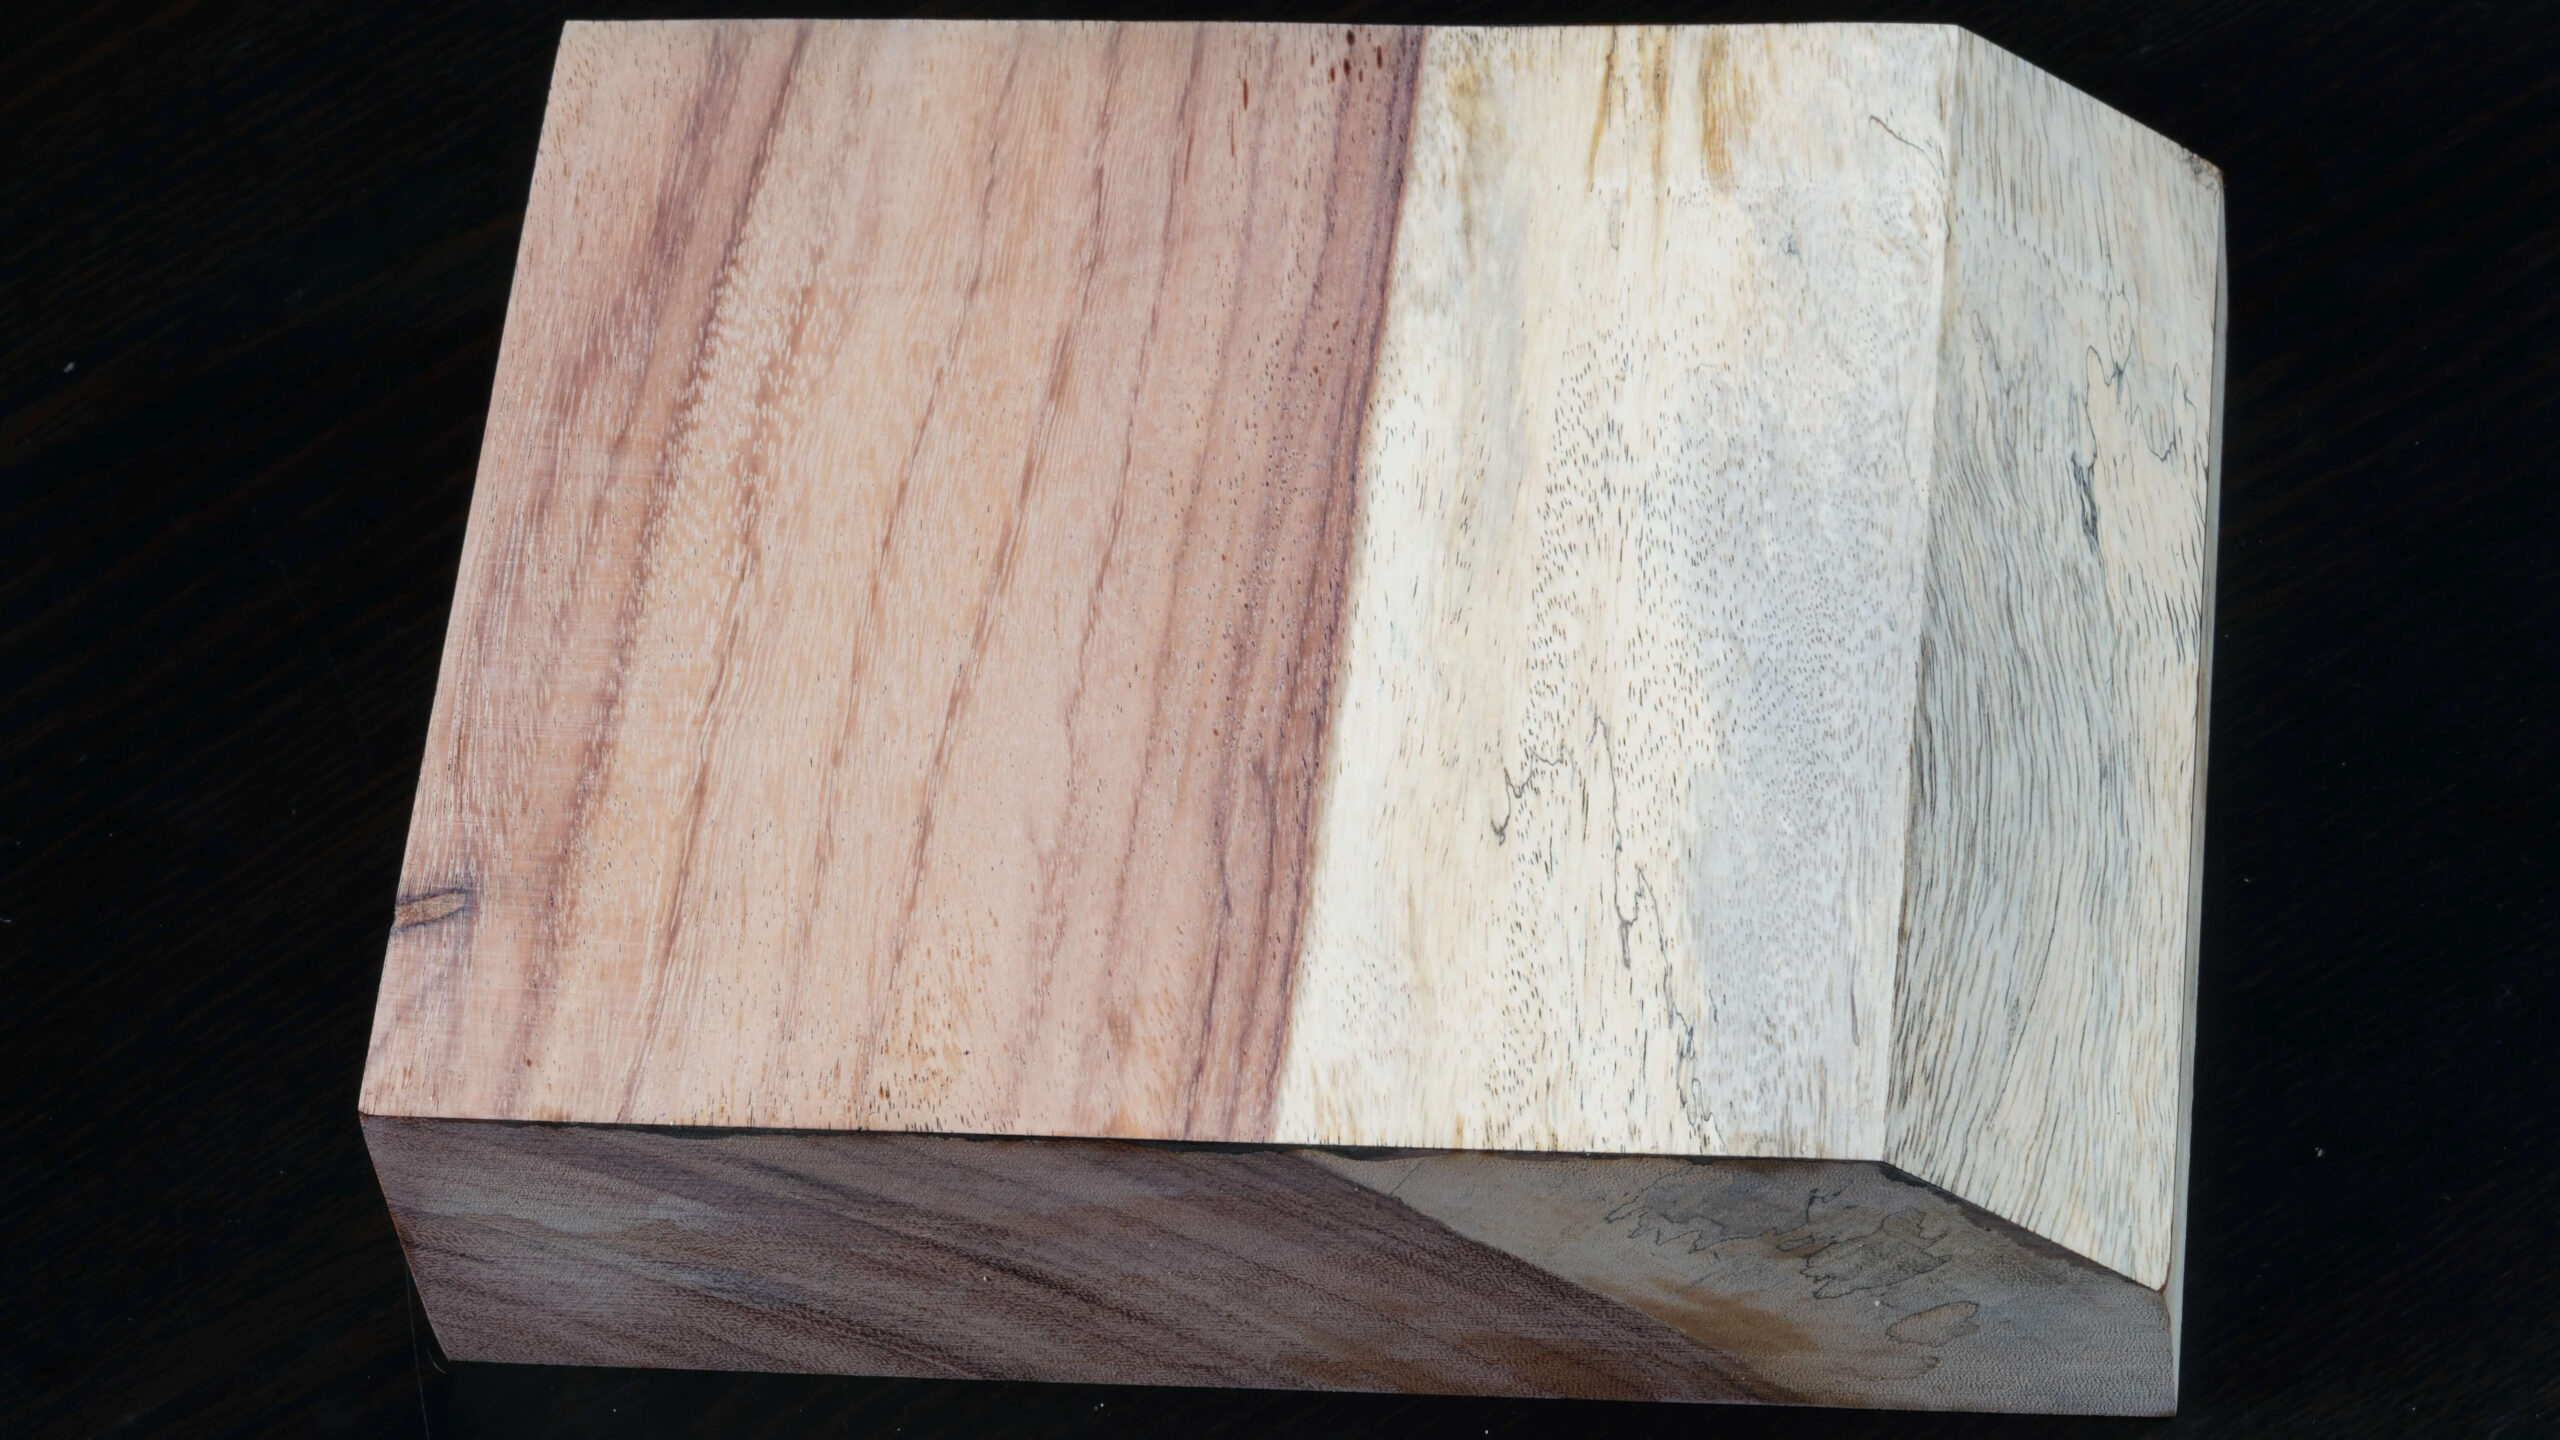
Note: The above block shows the heartwood/sapwood contrast. Most sapwood will be removed or hidden after applying skin.
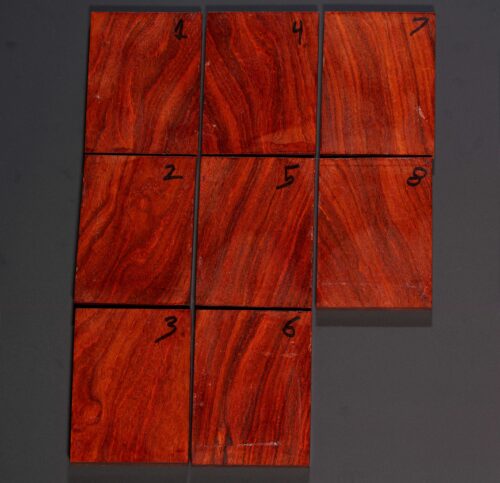
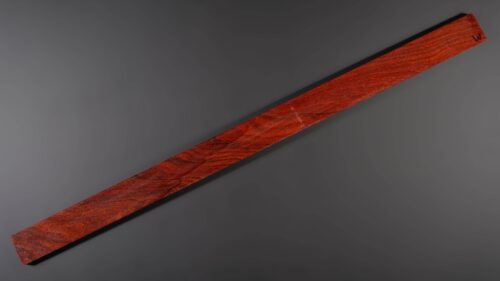
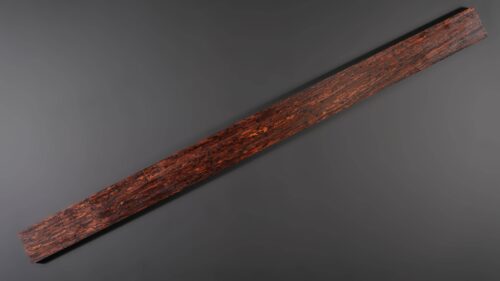
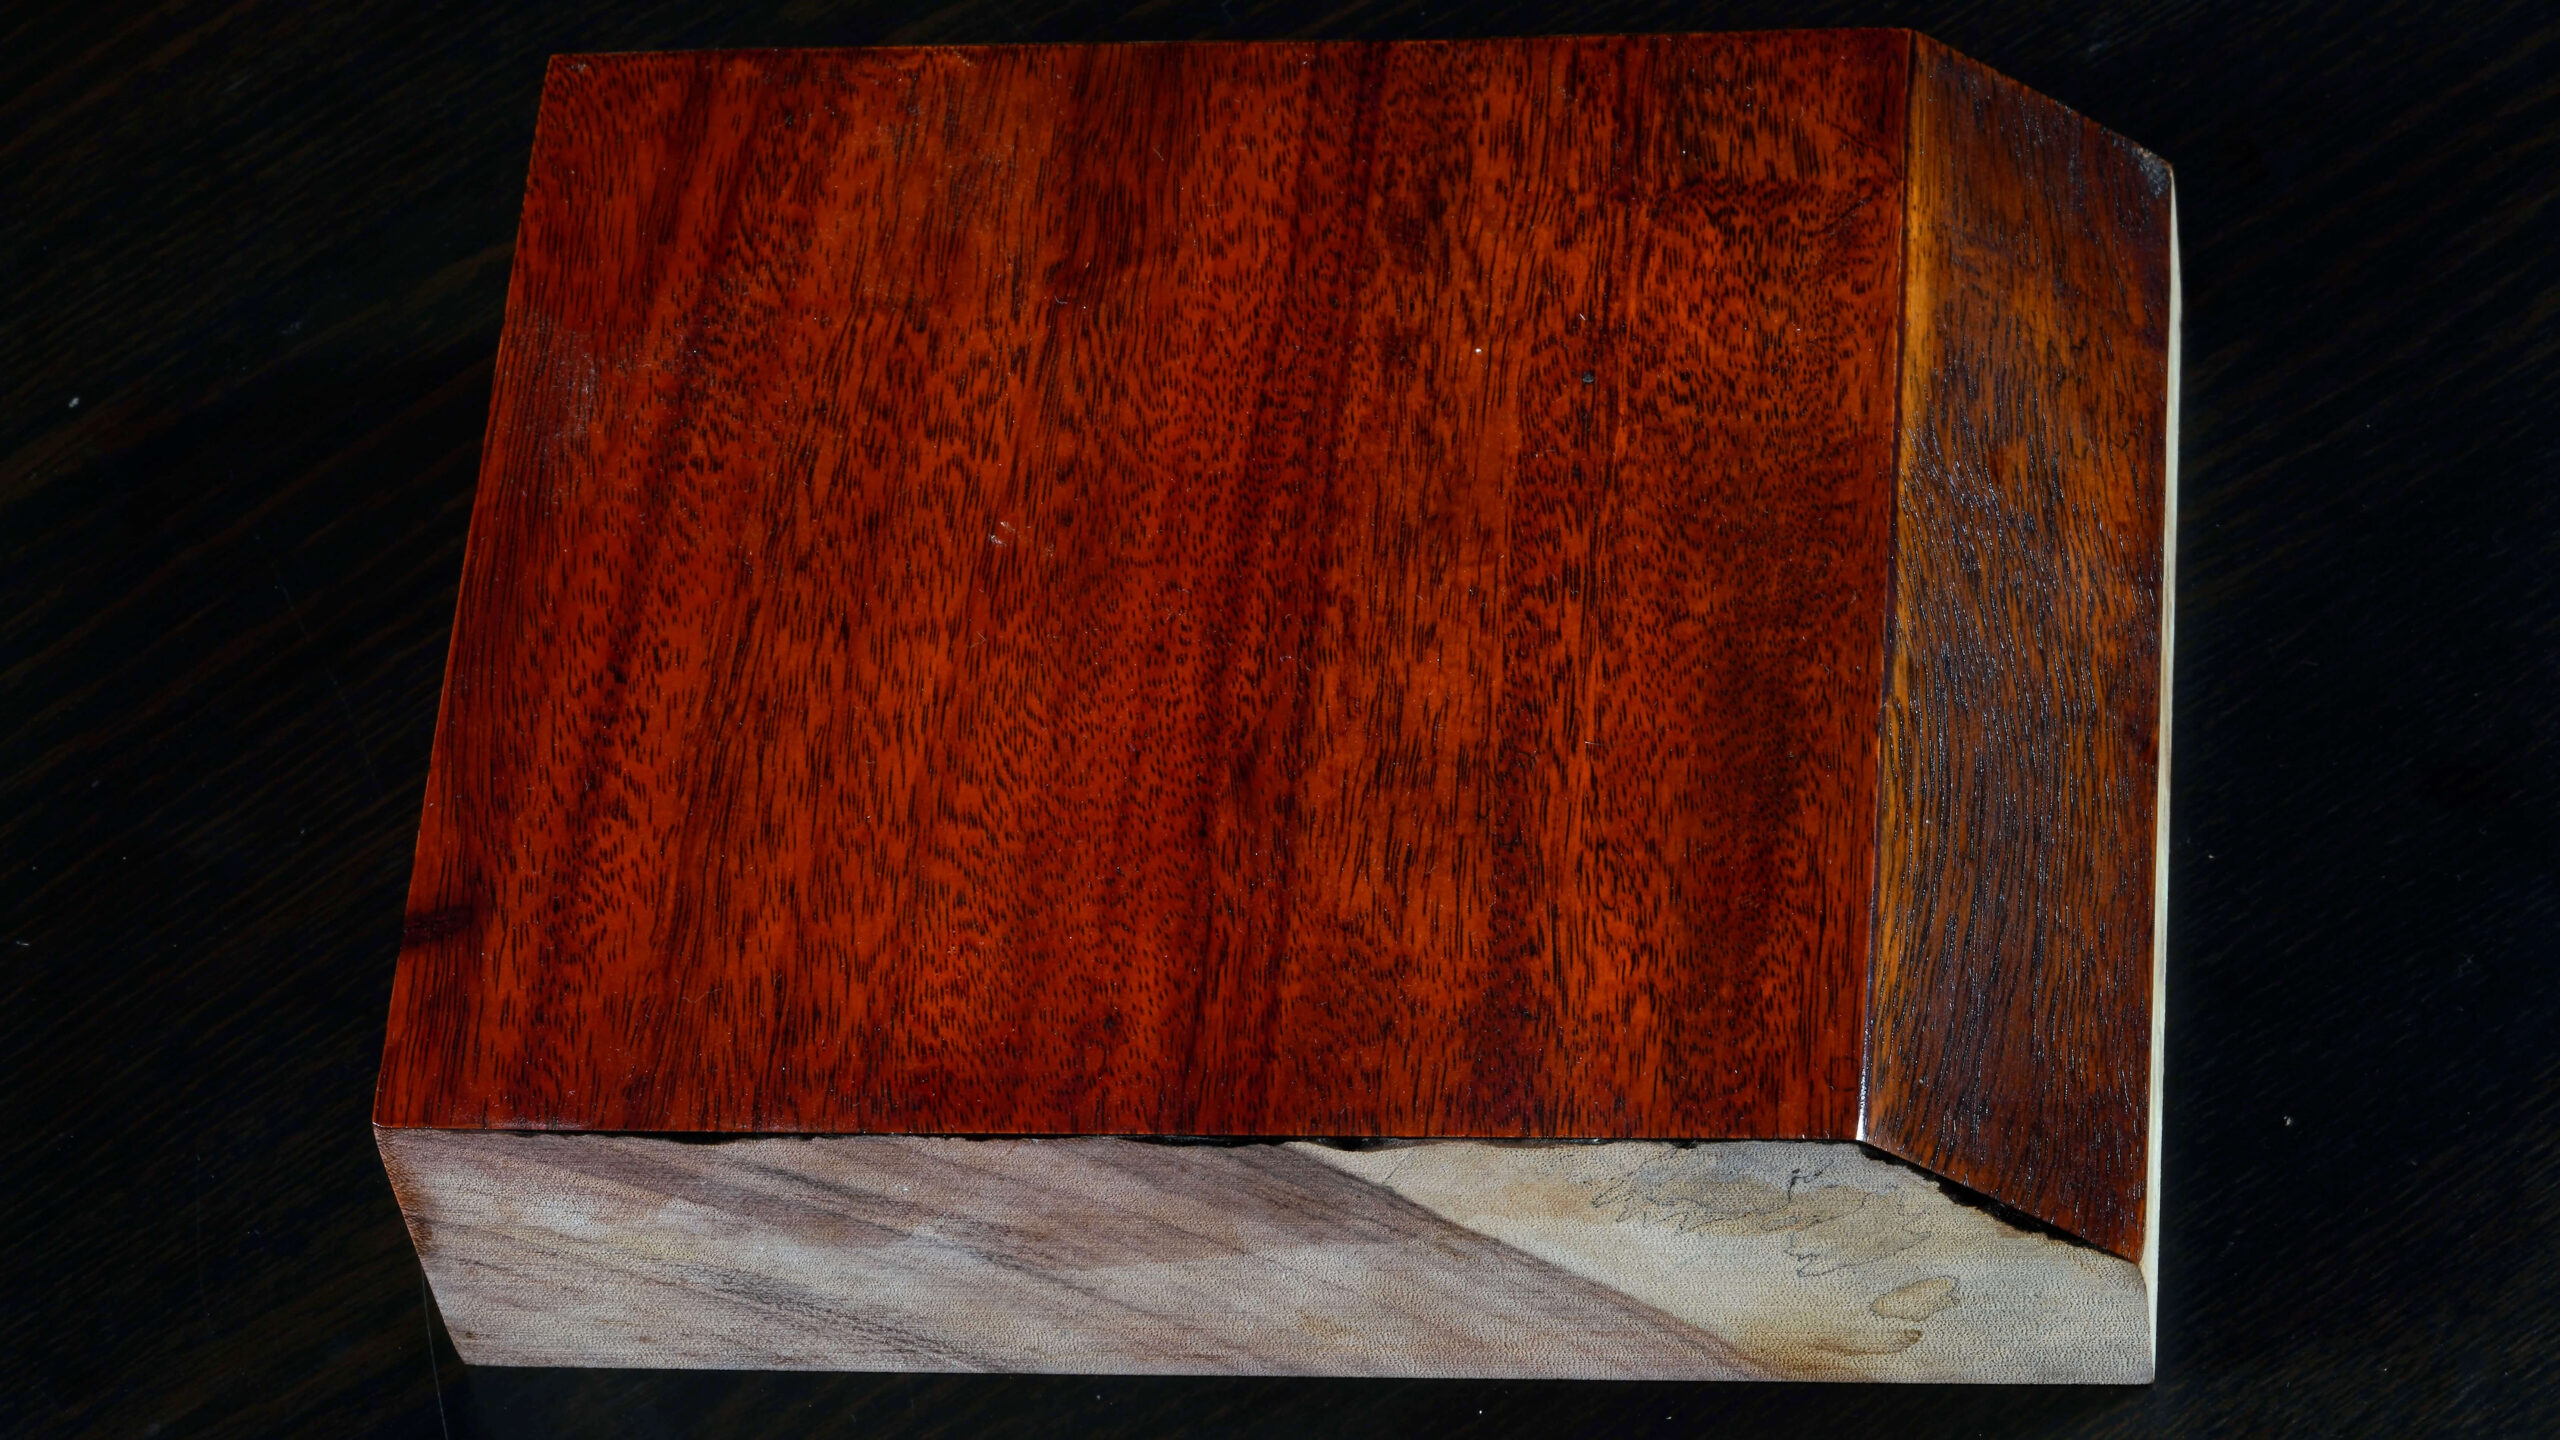
For those with aesthetic concerns about potential blonde splotches on their dou, please know that lacquering the dou with urushi will make the color uniform. The picture above is a sample piece of Granadillo with a large amount of Sapwood on the block, and the picture below shows same block after urushi lacquer is applied. As you can see, the color of the heartwood and sapwood are virtually uniform, while the figure and grain are crystal clear.
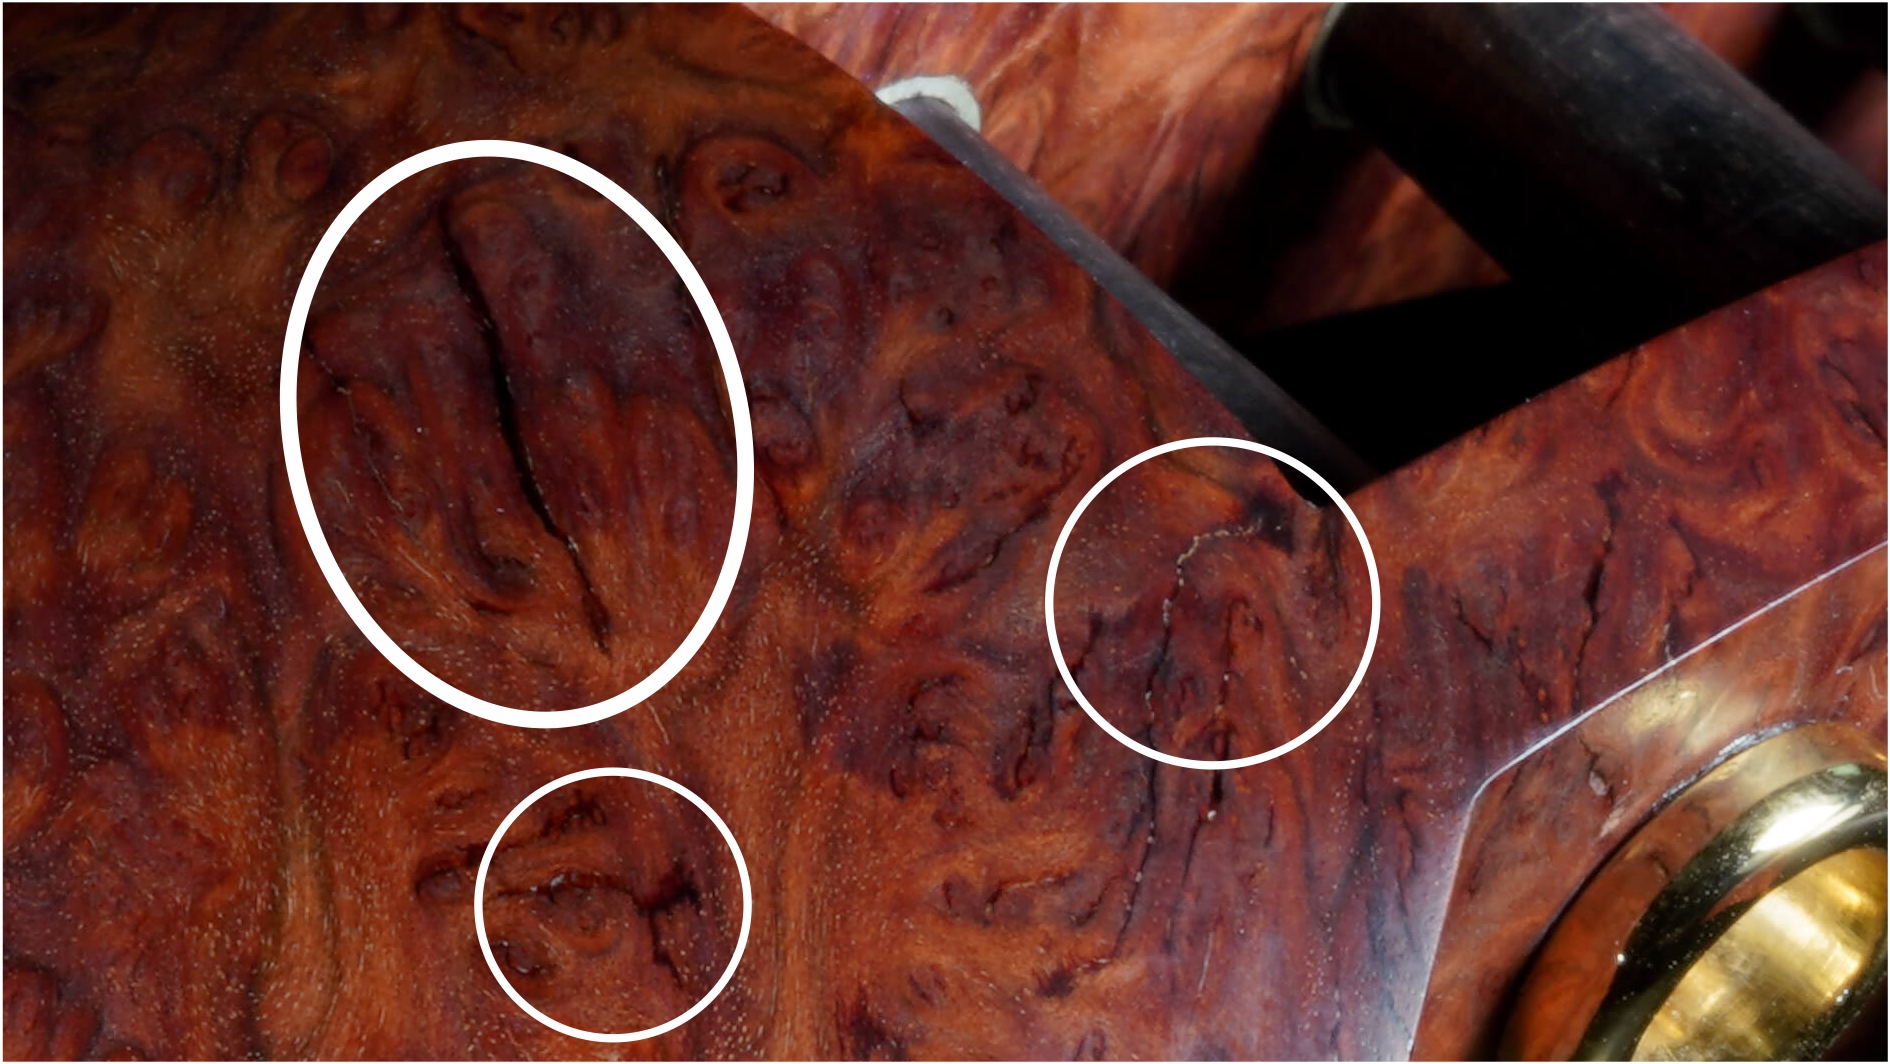
- Stabilized Burl Tenjin: Kit #9 includes a stabilized burl tenjin. Note that burl does NOT behave like normal wood. No matter how sharp your chisel is, burl “grain” will crush rather than slice. At worst, a chunk will pry out. However, burl does work beautifully when sawing, filing, or grinding, so please use those methods when shaping.Also, although the burl is stabilized, you may come across voids in the burl while shaping. Please have super glue ready in order to fill such gaps with super glue and sanding dust. (The white circles show some of the areas which I had to fill when making my burl tenjin)
- Fingerboard Preparation: Both Pua Rosa and Laotian Rosewood fingerboards are quite oily (the Rosewood especially). Thoroughly wiping the wood with acetone before gluing with Titebond should be fine, but using epoxy (after the acetone wipe) is better. To ensure the best results, use Smiths Oak & Teak Epoxy, which is specialized for oily woods (Acetone should be avoided with this epoxy, as it weakens the bond) and you can be assured of the strongest bond.
- Safety First: Wood dust from exotic woods like Granadillo can cause respiratory issues and irritation. Always wear sealed safety goggles and proper respiratory protection when working with a grinder or sander. For added safety, consider a full face respirator mask.