Fun Fact: Itomaki are NOT Plug & Play
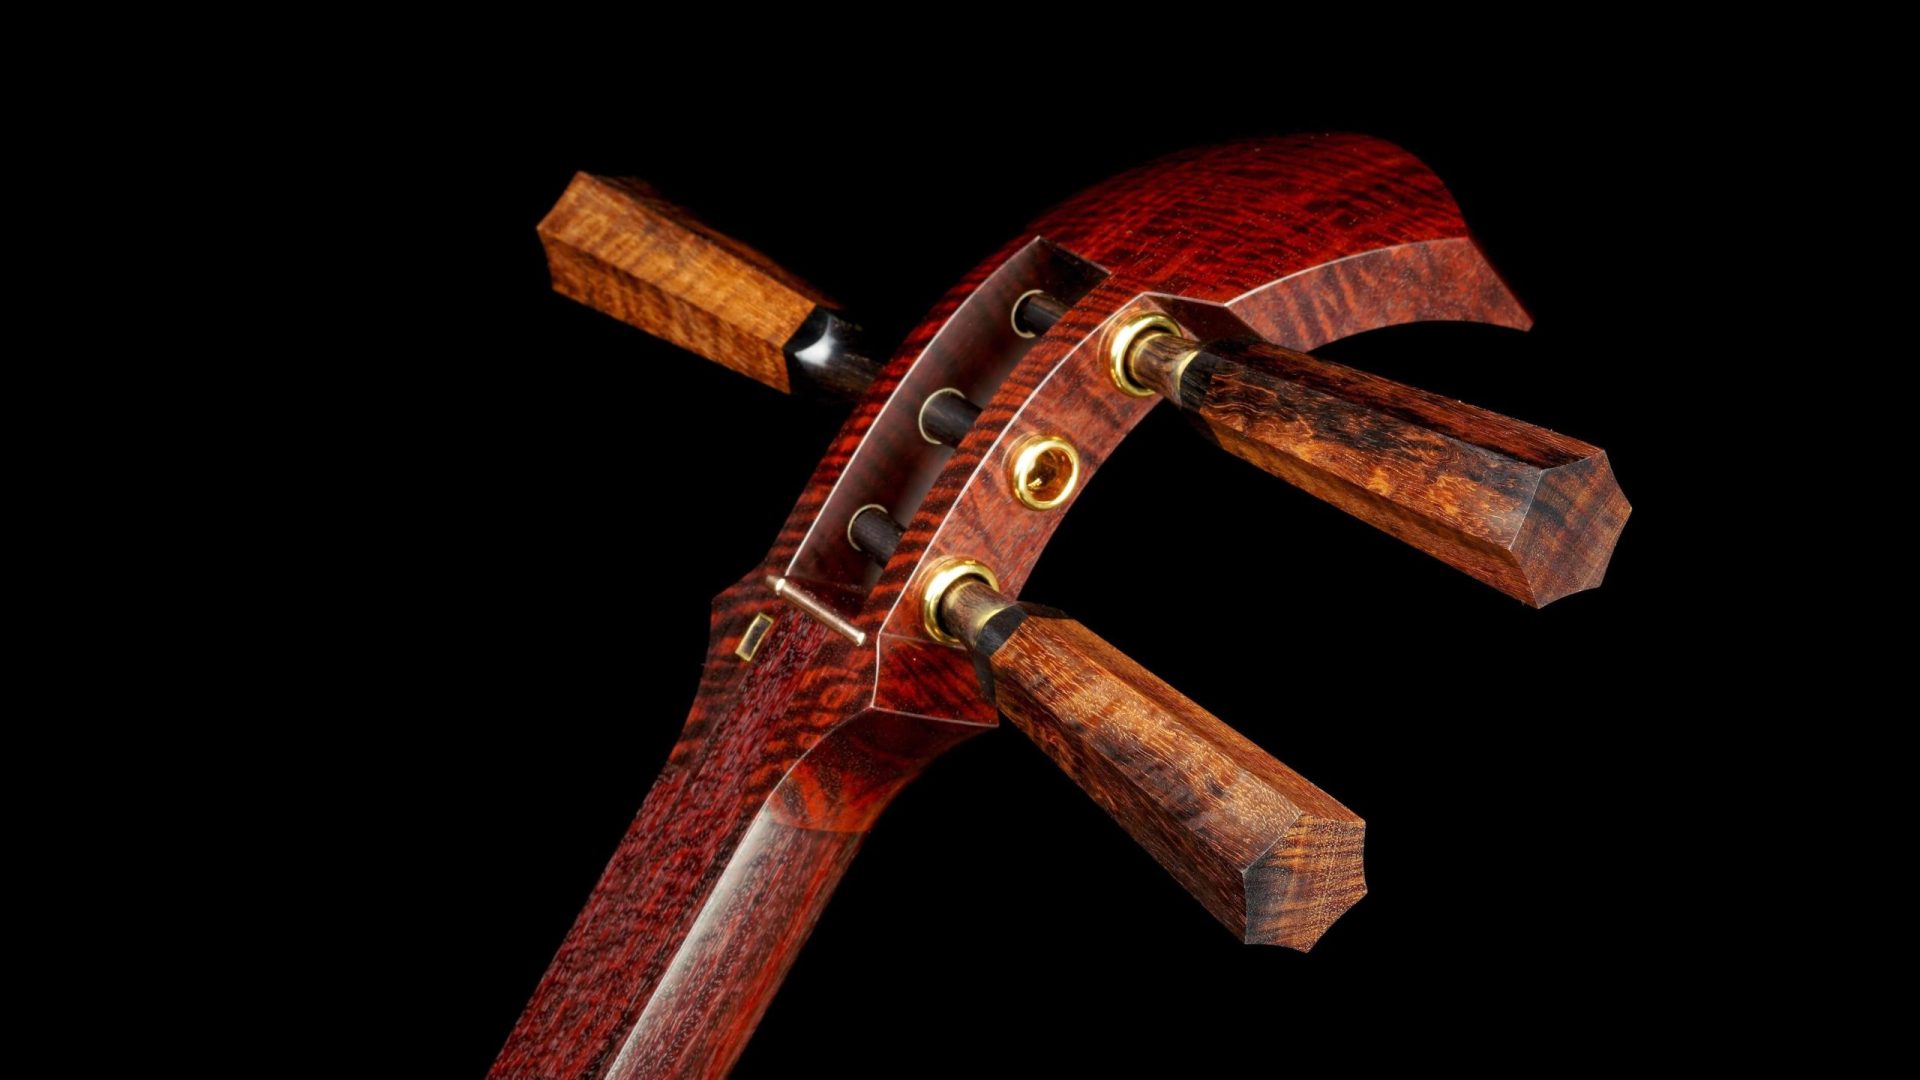
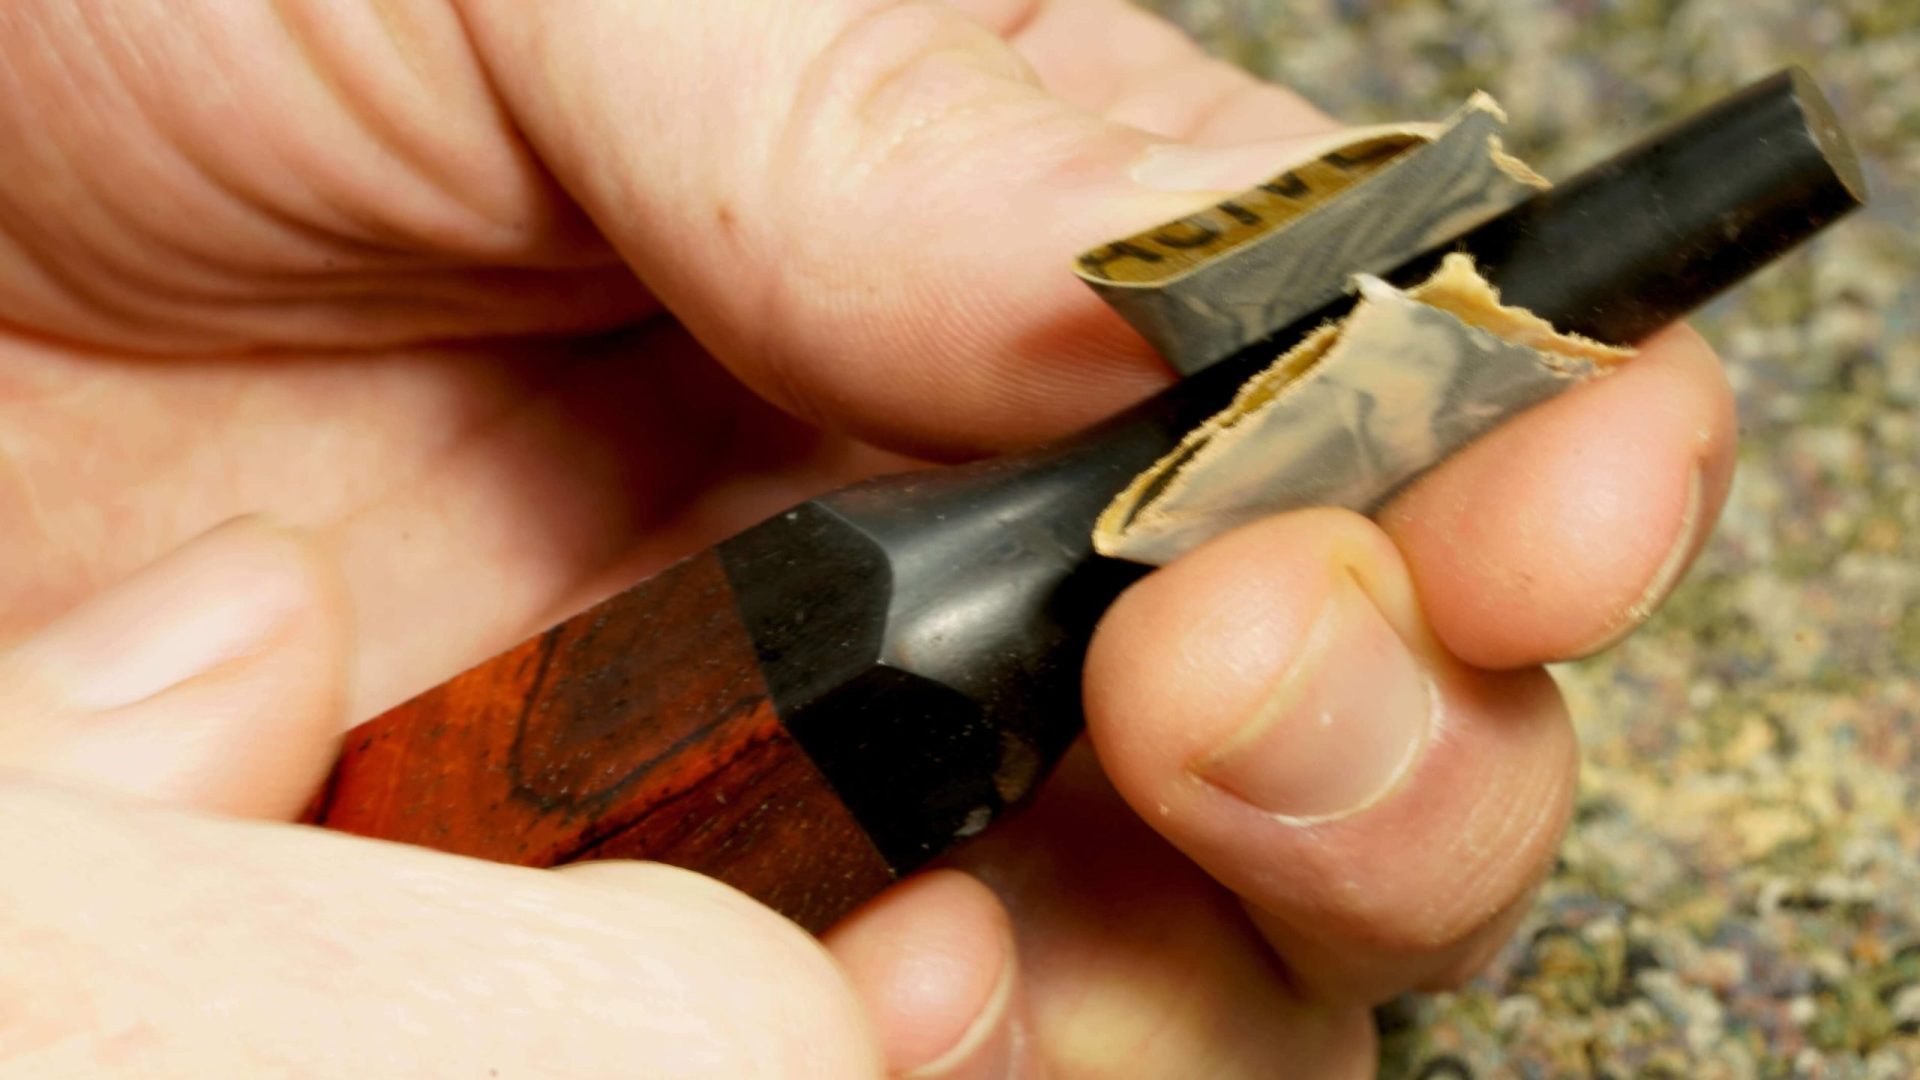
Itomaki are held in place with friction, and the key to a tight fit is achieving a correct taper so the peg contacts the zagane (metal fitting) just enough. Too much contact, the itomaki is impossible to turn. Too little contact, the itomaki easily slips. (This also happens when itomaki are worn – there’s very little surface contact on the zagane.) Because shamisen are handmade, every shamisen (and even zagane) will vary slightly. Depending on the age or maker, some will vary by as much as 1mm, which is a huge amount for itomaki. Thus, to ensure itomaki will fit and turn perfectly, each set of itomaki are tapered by hand to ensure a tight fit and smooth turn.
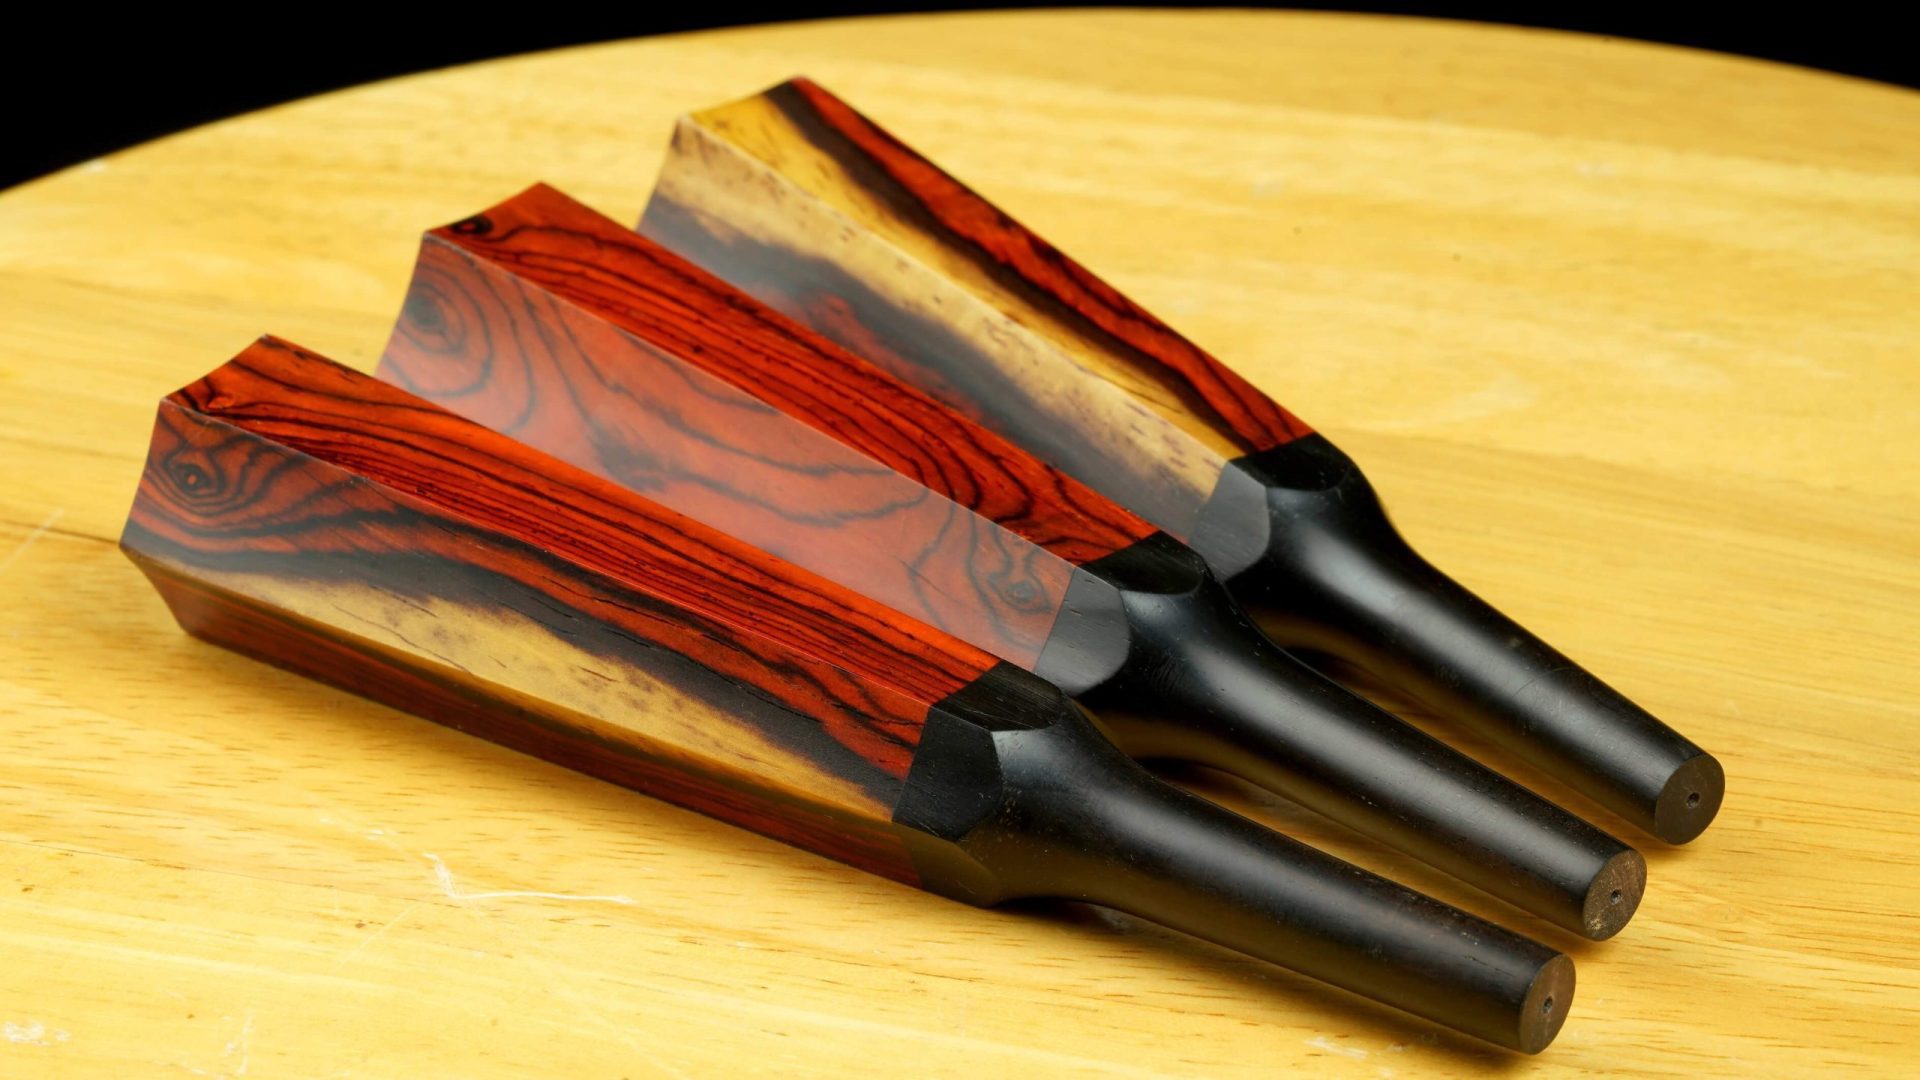
Currently, Tokyo Wagakki makes itomaki for maker 95% (rough estimate) of itomaki in Japan. Whether it’s classical itomaki for nagauta shamisen or wild spiral acrylic itomaki, they come from Tokyo Wagakki. When they make itomaki for other makers in Japan, they intentionally shape the peg end very thick so the maker has plenty of excess wood to shave down and achieve the perfect taper. Similarly, Elite Itomaki are also shaped thicker so they can be fitted for a perfect fit.
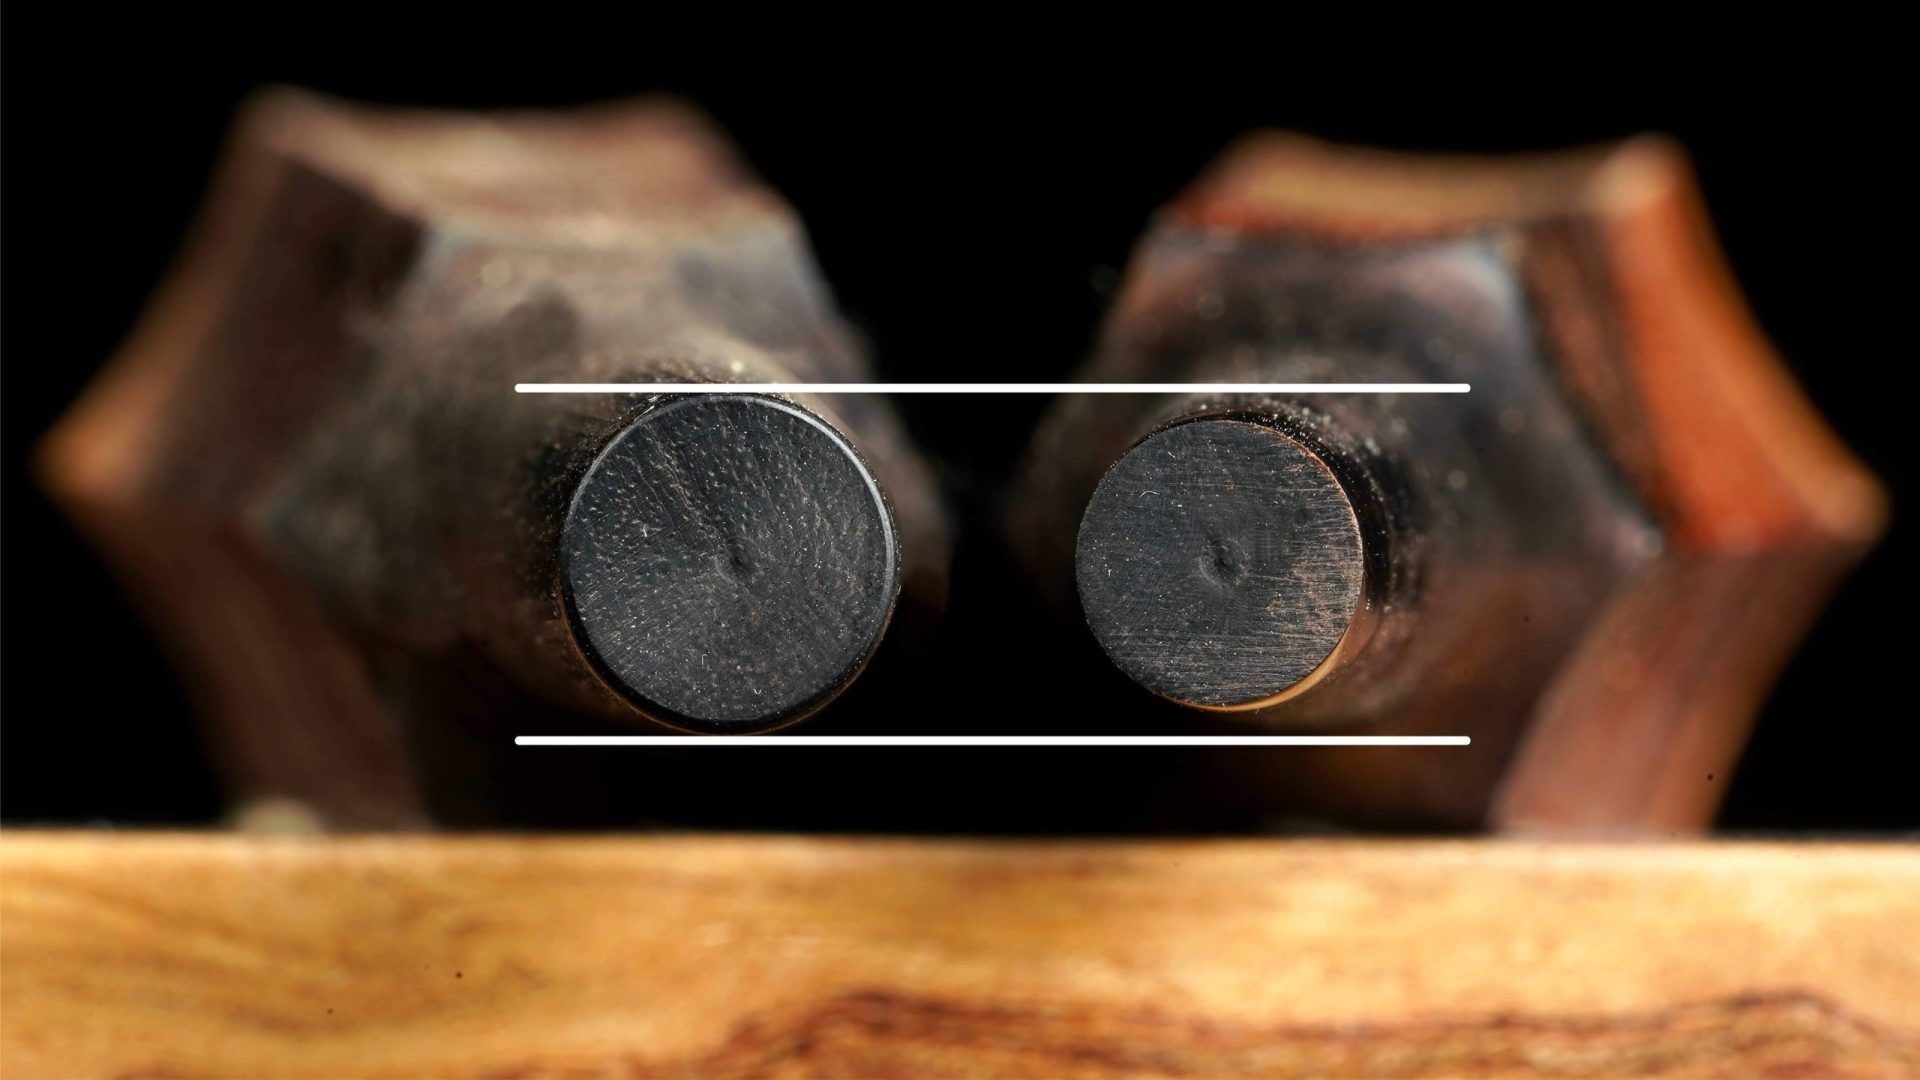
Left Side: Size before fitting. Right Side: Size after fitting
Installation Options (Home or Professional
Although itomaki can “easily” be installed with simple tools (sandpaper and drill), achieving a good fit is a delicate process which requires great care and patience. If that feels too risky for your new set of Elite Itomaki, simply send me your shamisen (specifically, the top section, called the kamizao) and I will professionally install your itomaki set, using a lathe to maintain a perfect taper and high polished surface. Furthermore, I will drill the string holes. (Customer covers cost of return shipping)
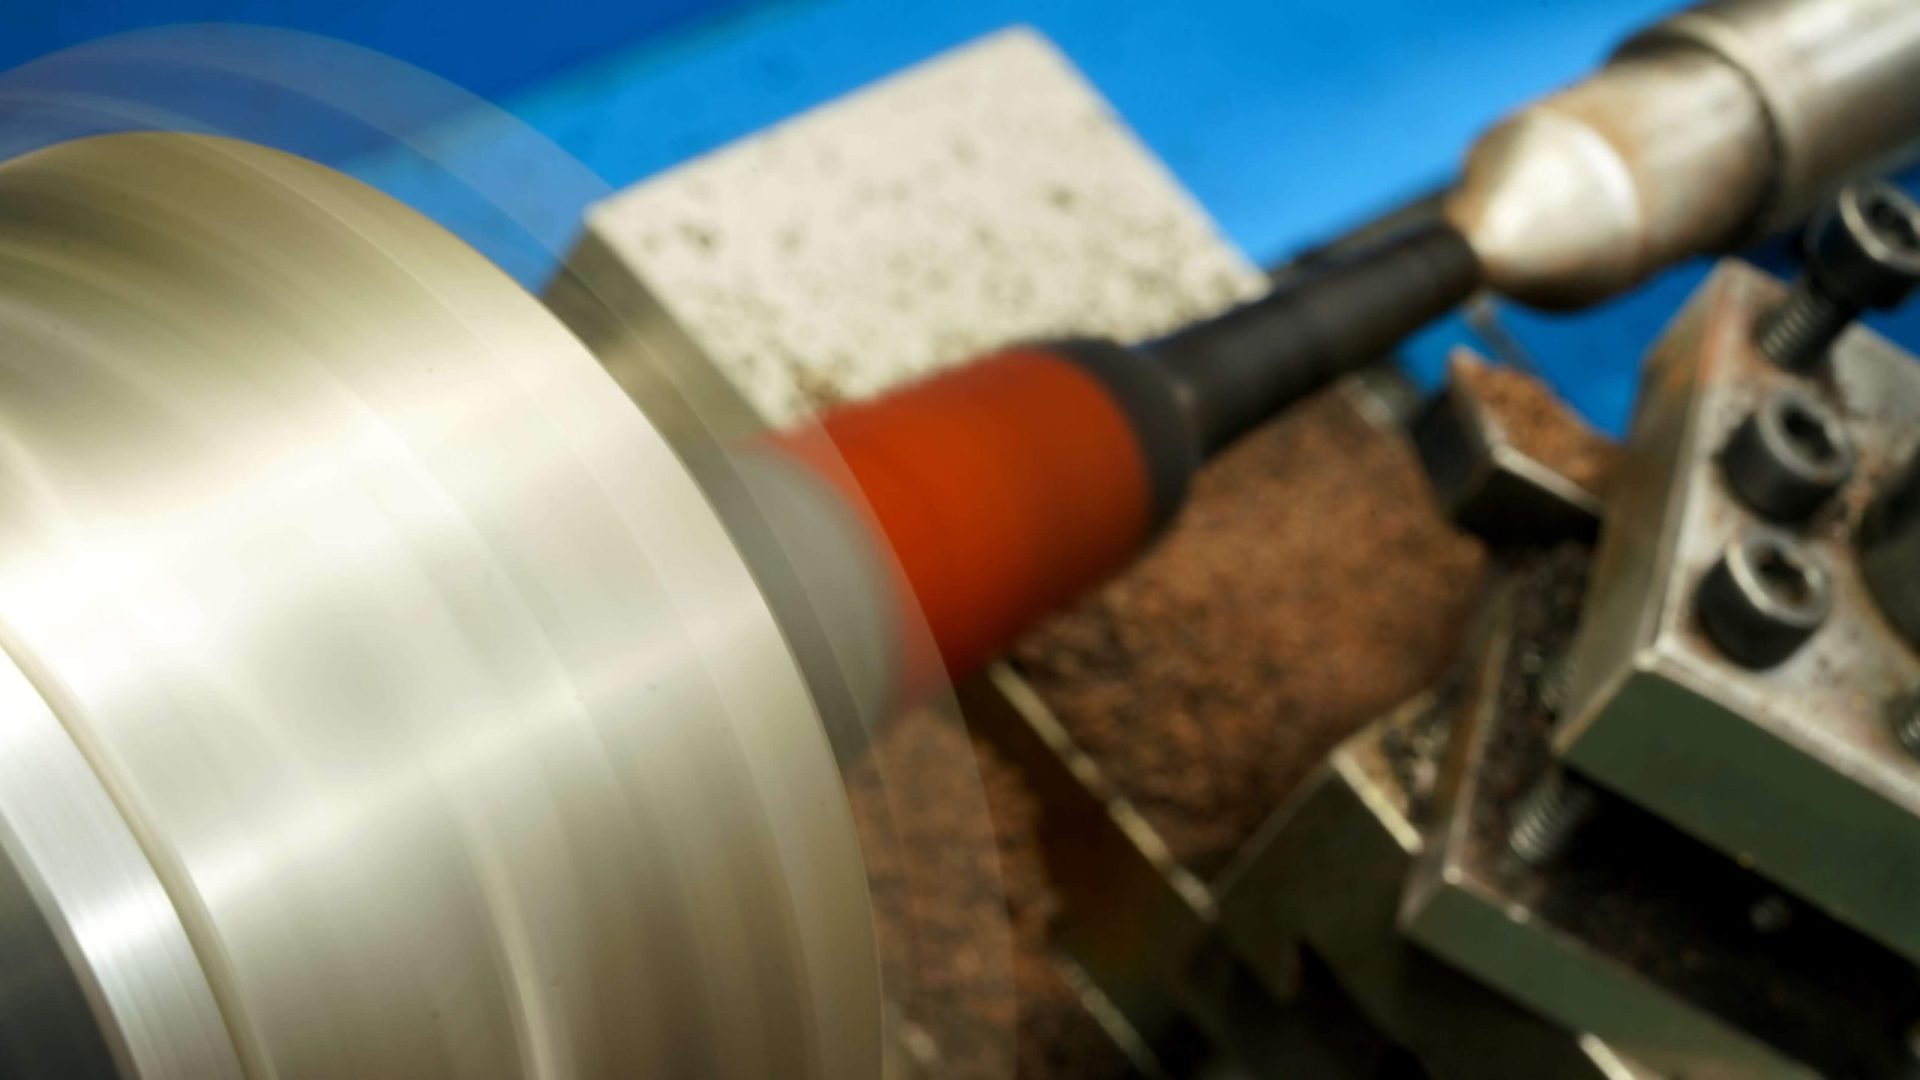
Normally, these shaped itomaki pegs are so thick they either require a lathe or hours of sanding to make the pegs thin enough to fit in the zagane. Doable for a specialist’s workshop, but enormous work for the average person. To make Elite Itomaki easier for you to install, we’ve pre-tapered the sets so the fitting is 75% complete. All you need to do is sand the pegs and drill the string holes!
Requirements: Sandpaper (Grit #: 120g, 220g, 320, 400g, 800g. Add 1200g, 1500, and 2000g for higher polish), and drill (1mm and 1.5mm bits for itomaki holes)
Warning: Although Elite Itomaki are specially prepared to make home DIY installation faster, they still require great care (ideally with some woodwork experience) to ensure a perfect fit. Achieving the right taper is a delicate process, and it is easy to sand too much. If too much wood is removed, or if sanded unevenly, the itomaki will wobble and slip easily. Please understand this risk, as there are no refunds if this happens.
For complete installation instructions, watch this video.